How to Finish Paper Drywall Corner Bead
by: Dale Cox
This page contains drywall finishing instructions for outside corners using paper drywall corner bead. To finish outside corners with metal corner bead use this link. Use these links to finish inside drywall corners and finish drywall seams and go here for more about drywall finishing materials and techniques.
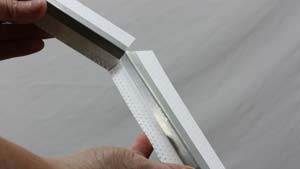
Outside drywall corners can be finished with either paper or metal corner bead. Metal corner bead is the easiest to install and the best choice for durability and a perfectly square corner. Paper bead can be applied using joint compound only and so can be done without screws. For a quick finish, paper bead my be a good choice but for the best results, metal corner bead should be used.
Paper corner bead is available in a couple of different forms. It may come in a long strip with a small, 90° metal band down the center to form the corner. Or it may come as a roll of paper tape with two flat metal strips attached along the center. The tape-type requires the drywall sheets to come together perfectly to form a square that supports the bead and forms the wall corner. The type with a 90° metal band will cover some irregularity in the corner, but not much.
Use ready-mixed joint compound, also called mud, to apply paper corner bead. Setting-type will set too quickly and may cause problems. See the skim coating page for more about using joint compound and the drywall finishing tools page for more information about drywall finishing tools, tapes, and joint compounds.
What You'll Need
- Paper Corner Bead
- Ready-mix Joint Compound
- Drywall Joint Knives
- Mud Pan
- Sandpaper
- Heavy-duty Scissors or Tin Snips
#1 - Cut the Corner Bead
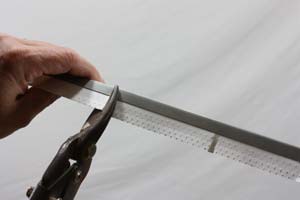
Measure the drywall corner and mark a line on the paper of the bead to this length. If you're dealing with a 90° metal band, use tin snips to cut one side at a time, through the paper and up to the bend in the metal. Bend the metal back and forth to break it apart at the center.
If you're using paper tape bead bead with flat strips down the center, use scissors to cut the paper and then use tin snips to cut through the metal strips, one at a time.
#2 - Apply the Corner Bead
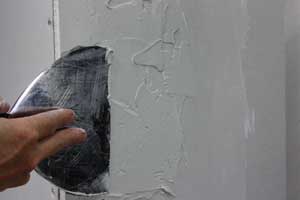
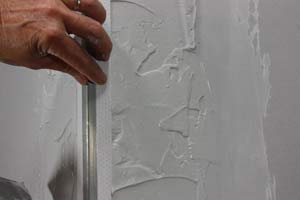
With the prepared corner bead ready, cover each side of the drywall corner with a thick coat of joint compound. Work from one end of the corner to the other and then apply the corner bead.
Press the bead into the mud, pushing firmly on the metal until it makes good contact with the drywall on both sides of the corner. Run you hand down the length of the metal from one end to the other to set it firmly in place and spread the paper out onto both walls.
If you're using paper tape corner bead, fold a crease along the center and lay it into the thick mud. Press it tightly to the corner and spread the paper out onto both walls along the entire length.
#3 - Stick the Paper Down Tightly
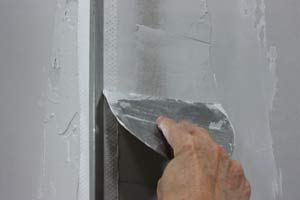
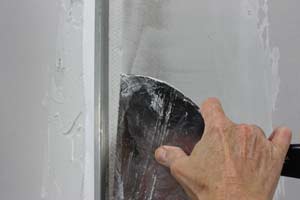
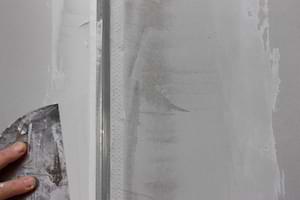
Use a small joint knife to squeeze the excess mud from between the paper of the corner bead and the drywall. Work from one end of the corner to the other drawing the knife along the paper to stick it down. Do one side of the corner and then the other.
Next, work along the length of the bead using horizontal strokes to squeeze out all the remaining mud while simultaneously pulling the bead tighter against the corner. Do one side of the corner and then do the other.
Finish by drawing the joint knife down the side of the tape again to remove any buildup there. Wait for the joint compound to dry completely before applying another coat. This can take several hours or overnight.
#4 - Apply a Second Coat of Joint Compound
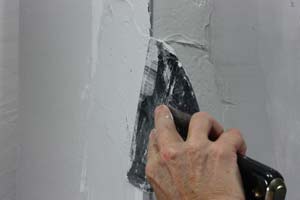
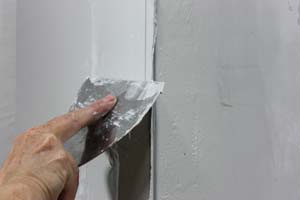
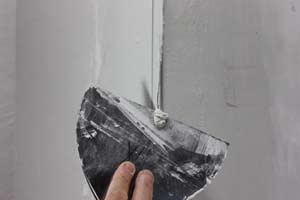
When the first coat of joint compound is completely dry, check the surface for any protrusions and use the joint knife to scrape them off before proceeding.
Apply a thick coat of joint compound over both side of the corner using crossing strokes with the joint knife. Work one side of the corner and then the other to apply a thick coat that covers the bead and spreads out onto the drywall.
Immediately go back and skim off the excess mud to smooth it over the bead from top to bottom. Work on one wall at a time. Clean the mud off the joint knife onto the side of the mud pan frequently to remove the buildup on the blade. When you finish, go back to the top and run the clean blade along the whole length of the corner in one smooth stroke.
Scrape the mud from the peak of the corner bead using an upward stroke of the knife to finish the application. Let the joint compound dry completely before proceeding.
#5 - Apply the Finish Coat of Joint Compound
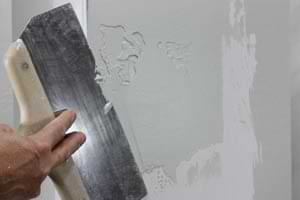
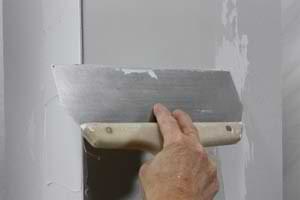
Apply a third coat of joint compound using a wider joint knife to smooth and level the corner. Use crossing strokes to coat both walls with a thick coat of mud and immediately go back over it to smooth it out with vertical strokes from ceiling to floor.
Lightly skim off the excess mud using one complete stroke from top to bottom. Clean the mud off the joint knife at the end of the stroke. Do one wall and then the other.
When you finish go back to the top and run the clean blade along the whole length of the corner again in one light, smooth stroke. Be sure the mud is blending into the drywall along the sides smoothly and not leaving a thick edge that will require excessive sanding.
Let the joint compound dry completely and check the surface for any pits, bumps, or other roughness. If necessary, scrape off the roughness and do another coat using the same single stroke method.
Let the final coat of mud dry and sand the corner lightly with medium grit sandpaper to smooth it into the wall surface. Sand the metal peak of the bead to remove any dry mud. The peak of the bead will remain visible but will be covered when painting.
 Installing Metal Drywall Corner Bead
 Finishing Inside Drywall Corners