How to Use a Paint Brush
by: Dale Cox
Painting with a brush comes into play when you need to paint around the corners, or "cut-in", before painting the walls of a room with a rollers. You'll also need to use a brush to coat trim moldings, doors, and windows. Using a brush can get a bit messy if you're careless while loading it or when you need to set it aside to do other things. Below are some tips and techniques for handling a brush for applying paint to get good coverage and a professional looking finish with minimum mess.
How to Hold a Paint Brush
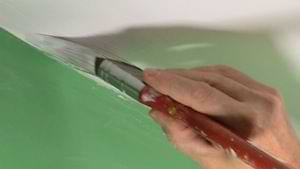
Hold the brush as you would a pencil or pen, grasping around the ferrule and pointing the bristles toward the work surface to apply the paint. This techniques will give you maximum control and help in keeping your hands and the brush handle clean. Keeping things clean will improve the overall results and make the job go more smoothly.
Filling a Brush with Paint
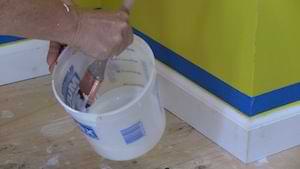
When working with a brush use a small pail to hold the paint and fill it with only enough to cover about 2/3 of the bristles. Load the brush by dipping it partway into the pool and then tapping the bristles on the side of the pail to work the paint in and blot any drips. Avoid overfilling the pail so when you set the brush down, it doesn't get paint under the metal ferrule between the bristles and the handle. This will ruin a brush in no time as it dries under the metal band, making the bristles too stiff to spread the paint smoothly. This will eventually make the brush completely useless which in addition to being inconvenient, can become quite expensive as a good brush can run $15 or $20.
When you need to set the brush down as you work, set the bristles down into the pool of paint and lean the handle against the rim. Cover the whole thing with a damp rag to keep it from drying out if you will be away for an extended period, more than 10 minutes or so.
Painting a Straight Line Freehand
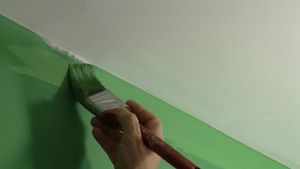
It will take some practice to gain control and get clean, straight lines when painting freehand, also called cutting-in. If you don't have the time to devote to becoming skilled with a brush, masking tape can be used to get straight lines around a white ceiling or along trim moldings.
But if you do want to get good with a brush, here are some tips for learning to do it like a pro. For improved control over a standard straight cut brush, use a sash tool for cutting-in. Hold it as described above and load it with plenty of paint but don't go above 2/3 of the bristle length. Work the excess paint from the brush onto the work surface, just next to the line before moving to cut it in.
Point the bristles into the corner and press down so they spread out just a bit. Draw the brush along slowly, keeping the bristles evenly spread out. To keep the line straight as you go, focus your attention on the point where the flatten bristles meets the corner. Don't try to force the paint to cover all at once. If it gets spotty, just go back over it again until you get it to cover.
If you need to go back over the line again to get good coverage, do it right away. Don't let the paint sit for more than a few seconds before cutting along the line again. If you make a mistake and get paint onto the adjacent surface, the best solution is to wipe off the excess, let it dry, touch up the adjacent paint, let it dry, and then cut-in again.
Painting Over Rough Surfaces
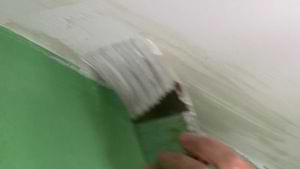
When you just need to get the paint on to cover a bare or rough surface, load the brush with plenty of paint and apply it with short, back and forth strokes. Reload with paint as many times as necessary to saturate the surface with a thick coat that fills all the pores and crevices. Don't try to spread the paint out too far before reloading, if it starts to drag, stop and reload right away to keep the coating thick.
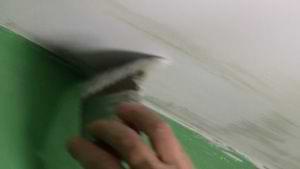
After you have complete coverage, immediately go back over the surface with nearly dry bristles to smooth the paint out using long, light strokes that blends the finish together into a solid coat.
Start at one end and brush from one side of the surface to the other in parallel strokes. When you've done one section of the surface, start a new one a little out from the end of the first, and brush back into the wet paint to blend the two together into one, cohesive coat.