How to Install a Wall Access Panel
by: Dale Cox
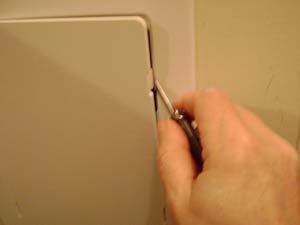
You can buy a prefab access panel to make a neat opening in walls and ceilings for reaching plumbing or other household systems. These panels are easy to install and come in sizes from about 10 inches to two feet or more.
To cut out the opening use a drywall saw on drywall and plasterboard, and a reciprocating saw or keyhole saw to cut wood-lath plaster.
#1 - Mark the Access Panel Dimensions
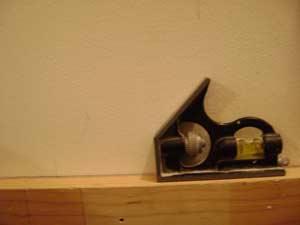
Check the packaging for dimensions to cut an opening that will accommodate the panel. You can also turn the panel to the back and measure the rim around the door for the required dimensions. To mark for the opening on the wall, start by setting a level against the wall and draw a straight, level line for the top. The frame will be about an inch wider than the door opening, so plan the placement so the overlap isn't obstructed.
Next, mark the sides of the opening on the top line and measure from there to the bottom. Mark the location for both sides. Using the level, connect the two bottom marks and draw a straight line for the bottom of the opening.
Lastly, set a square against the top line at each mark to form a right angle and draw a line to join the top and bottom lines.
#2 - Cut Out the Wall Opening
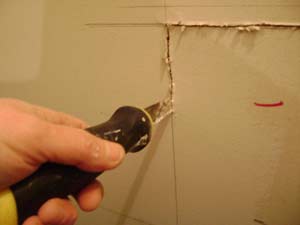
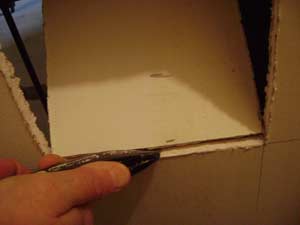
On drywall, cut along the top line and down the two sides with a saw and then score the bottom line with a utility knife to remove it. Score deeply and then push in on the drywall to snap it along the scored line. Cut through the remaining paper on the backside of the square to free the drywall cut-out and let it fall. You can leave it inside the wall or pull it out after it's free.
To cut out wood-lath plaster, drill a hole just inside all four corners of the square and use a reciprocating saw to cut between them along all four lines. Be careful to keep the saw pressed firmly against the plaster while cutting to avoid causing cracks and other damage from excessive vibration.
#3 - Install the Access Panel
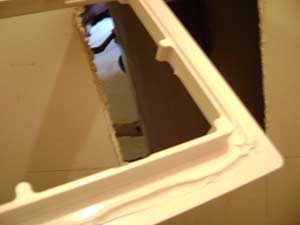
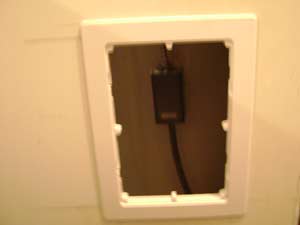
Remove the panel cover from its frame using a pen knife or screwdriver to pry at one of the slots. Apply a bead of acrylic latex caulk along the back of the frame, going all the way around to leave about ¼ bead.
Set the frame into the square hole and press firmly to spread the caulk, sticking it to the wall. Make sure the frame is straight and push hard on the frame all the way around the perimeter. Clean off any caulk that squeezes onto the surrounding wall using a wet cloth and check for gaps. Let the caulk set for a couple of hours before reinstalling the cover. Wait a day before removing the panel cover to avoid breaking the caulk seal.
 Repair Large Holes in Walls and Ceilings
 Repair Drywall Paper