How to Fix Cracks in Drywall and Plaster
by: Dale Cox
The repair techniques on this page can be used to fix wall and ceiling cracks in plaster or drywall. Note: extensive cracking caused by extremely loose and crumbling plaster can not be repaired using this technique alone. For most other crack problems, the method on this page is an effective and permanent solution. If your plaster is cracking because it is loose however, the lath and brown coat must be stabilized to cure the problem before crack repairs are made. Check this link for a repair solution to address crumbling plaster. Check here for a video of the crack repair process described on this page.
What You'll Need
#1 - Clear the Crack
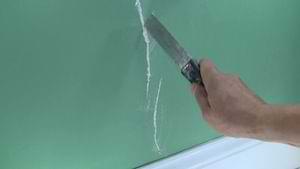
The first step to repair a wall crack is to remove any loose material from the crevice. Run a putty knife through the crack several times to loosen any crumbling wall material. Also, scrape away any peeling paint along the edges. Clear away all dust from the scraping, and prime the surface to prevent bubbling.
Bubbling may develop in the finished repair if contamination prevents bonding between the surface and the new joint compound, also called mud. This is a common problem when water has damaged the surface but contamination for multiple sources can affect the bond between materials. Sealing the area with a shellac-based primer-sealer will ensure that your repair efforts aren't wasted. You can use a spray can of sealer on lightly damaged surfaces or brush primer on heavily damaged areas to be sure of good coverage. Let the sealer dry for 30 minutes to an hour before proceeding.
#2 - Tape the Crack
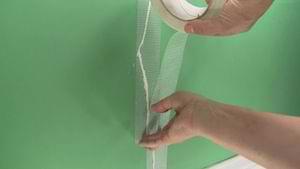
Fiberglass mesh drywall tape is used to stabilize the wall. If the surface is loose, however, further support will be required to help prevent future cracking. In some cases, it may be possible to drive screws into framing around the damage to stop movement. This is not always possible because framing studs and joists may be too far away from the crack to be of use. In these situations you can try filling them with foam insulation to stabilized the wall.
With the wall stabilized, apply the tape all along the crack to reinforce it. If you need to cut the tape to follow an irregular path, overlap the ends of each new piece by a half inch or so.
#3 - Apply a Coat of Joint Compound
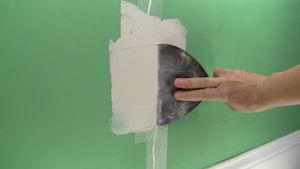
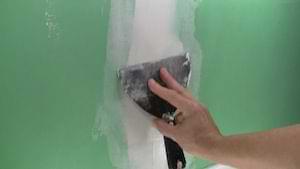
With all the taping done, mix and apply a very thick coat of setting-type joint compound, using back and forth strokes to completely cover the tape and surrounding wall surface. Cover the tape well while pressing compound into the crevice and the fibers of the tape.
Immediately skim off the excess mud using a joint knife held at about 30°. While pressing down firmly, draw the blade along the length of the tape. Avoid using too much pressure that would dig into the tape fibers but enough to leave only a thin coat of mud behind. Don't try to completely hide the tape with the first coat, it will require a few more to cover the fibers and smooth out the wall. Also skim along both outer edges of the repair to remove any excess mud buildup there.
#4 - Sand the Dry Mud
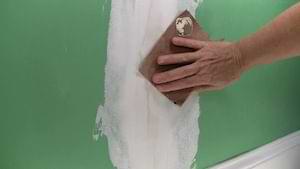
Allow the mud to set for about 30 minutes and use medium sandpaper to sand very lightly over the raised tape fibers to knock them down. Don't dig into the tape, just remove the roughness with a swipe or two with the paper. Use a damp rag to wipe lightly over the repair to remove the sanding dust.
#5 - Apply a Second Coat of Joint Compound
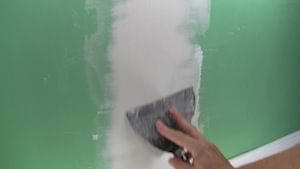
Cover the dry mud with another coat, overlapping the edges of the first a bit. Stroke back and forth across the tape to cover it and the dry mud with a thick coat. Immediately go back and stroke parallel over the tape to skim off the excess mud. Stroke along the edges first and then smooth out the center to leave a thin covering over the tape.
#6 - Apply a Third Coat of Joint Compound
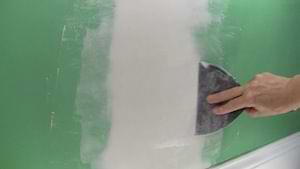
When the mud dries, sand again to smooth out any rough spots and then wipe the dust away with a damp rag. Apply a third coat of thick mud over the whole patch overlapping the edges of the second coat. Skim off the excess mud stroking across the tape this time to leave a smooth finish.
#7 - Sand and Touch Up the Paint
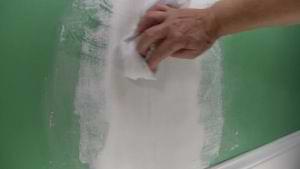
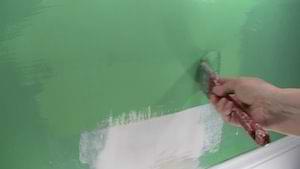
When the mud dries, sand the whole patch paying extra attention to the edges. Feather them into the surrounding wall surface with a light touch. Go lightly over the center portion of the mud to avoid digging in and removing too much covering. Use a dry brush or vacuum to remove the excess dust and then wipe lightly with a damp rag to remove any dust that would otherwise inhibit the paint touch-up.
If you are using flat latex finish paint, you can use it to prime the repair. If you are using semi-gloss or other shiny paint, prime with flat latex or a latex primer first.
Caulking Wall Cracks
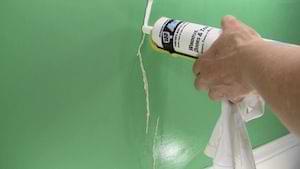
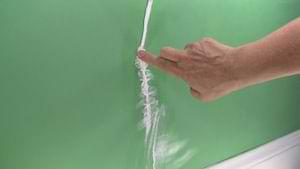
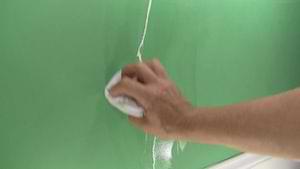
Use this process to repair recurring cracks in plasterboard and drywall where you can't drive screws to stabilize excessive movement. This technique makes use of latex caulk to hold the gypsum in place and stabilize movement. When the caulk has set, it will flex with the wall material to minimize future cracking.
After clearing away the loose wall material, use a spray bottle of water to soak the plaster and gypsum along the crevice until it won't absorb anymore water. This will help to ensure a lasting bond between the wall material and caulk filler. Fill the gap with plenty of caulk and smooth it into the surrounding wall material with your finger and a wet rag. Wipe any excess off the finished wall surface around the repair area. Let the caulk dry and set for an hour or more before taping and repairing using the method above.
Repairing Loose Drywall Tape
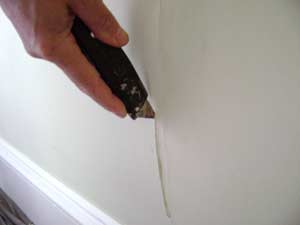
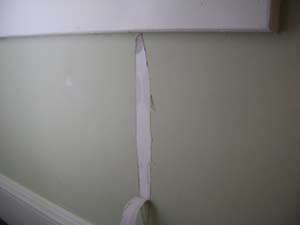
If you're dealing with loose or bubbling drywall tape coming off a seam, use a sharp utility knife to remove the damage. Cut cleanly around the edges of any bubbles. If the tape is coming off completely, cut it off squarely just outside the damaged area and pull the loose paper off.
Prime the exposed seam and surrounding wall surface with shellac primer and let it dry completely. Apply fiberglass tape over the exposed seam and overlap onto the undamaged wall tape a bit. Apply joint compound over the new tape and finish using the same methods described above.
 How to Caulk
 Repair Large Holes in Walls and Ceilings